
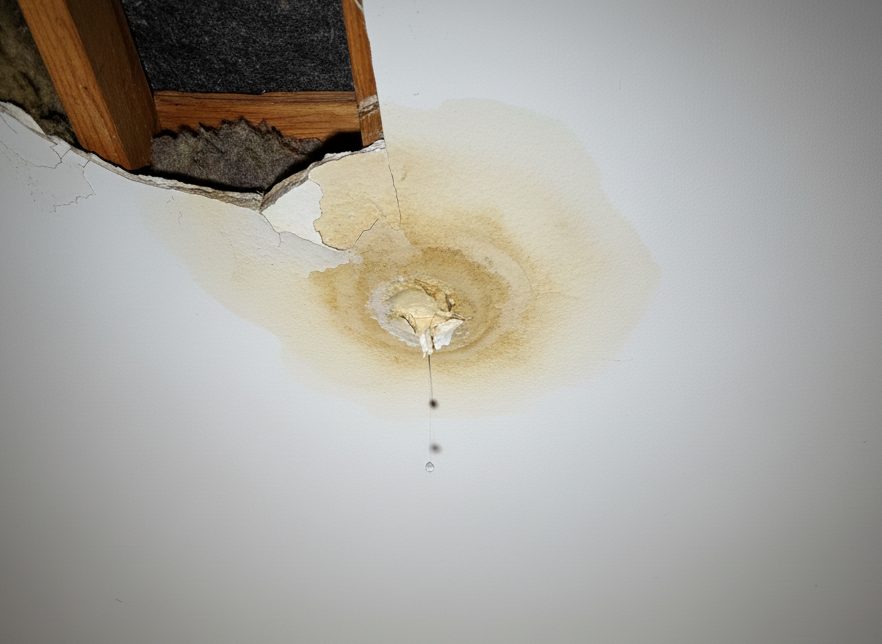
Do you see a gathering of dampness or mildew in your home and fear a leak? This guide covers how to find the source of a roof leak, apply a temporary fix, make the most common repairs yourself, and know when to call in a professional.
Markham’s climate makes leaking roof situations more complicated than most generic guides account for. We sit between Lake Ontario and Lake Simcoe, which drives lake-effect snow and frequent freeze-thaw cycles that put real stress on roofs throughout the winter.
Those conditions create roof leak patterns you won’t find in guides written for Vancouver or the American Midwest. If you need hands-on help right away, our roof repair services in Markham are available year-round.
Protect the Inside of Your Home Before Anything
Before you go anywhere near the roof, protect what’s inside. It may seem obvious but we’d be remiss not to point it out.
Place buckets under any water dripping and lay towels on the floor around them. Move furniture and valuables out of the affected area, and look for water stains on the ceiling or walls as an early sign of the leak. Take photos before you do anything else because your home insurance company will want documentation.
If the ceiling is visibly bulging or sagging, gently push a screwdriver into the lowest point of the bulge and let the water drain into a bucket below. This relieves pressure and prevents a sudden collapse. Mould can begin growing within 24 to 48 hours of persistent moisture, so getting the water out fast matters.
How to Find the Roof Leak
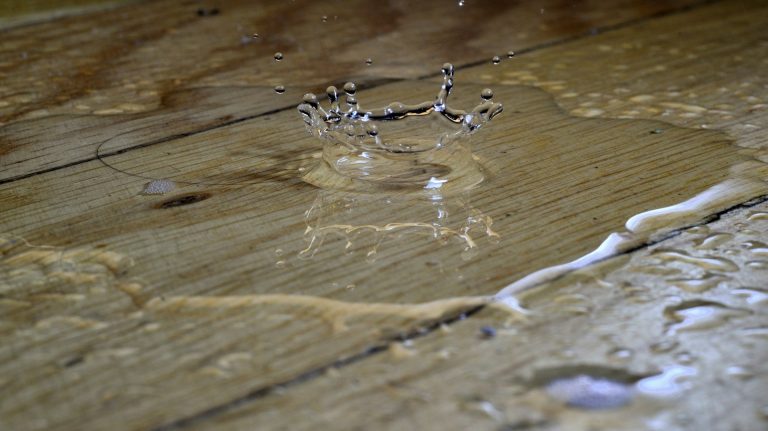
The most important thing to understand about finding a roof leak is that accurate diagnosis is the first step before any repair, because where you see water inside is almost never where it entered. Water travels along rafters, decking, and insulation before it finds a low spot and drips. The visible stain might be six feet from the actual entry point.
Start in the Attic
Go up to the attic with a flashlight and look for dark stains on the underside of the roof decking, damp insulation, or active drips. Mark any suspect spots with chalk or tape so you can find them again. During a Markham winter, the leak may appear dry by the time you look. Check again after the next temperature swing, when fresh meltwater reactivates it.
Check the Exterior from the Ground

Before you climb anything, scan the roof from the ground for missing or damaged shingles, sagging areas, and signs of debris on the roof surface; if safe access is poor, avoid climbing and call a pro. Roof inspections should check for missing or cracked shingles and rusted flashing, as these are common issues found during roof inspections. Check the fascia and eaves for overflow staining from blocked gutters.
Binoculars help. Get the full ground-level picture before anyone goes up, and clear debris from the roof surface to help prevent leaks by stopping water from backing up around vulnerable areas.
Use a Garden Hose to Confirm the Source
Once you have a suspect area, here’s how to pin it down. One person stays in the attic, and the other goes on the roof with a garden hose. Wet the roof in sections, starting from the eaves and working up toward the ridge.
The person inside watches for a visible drip and calls out when it appears. This two-person method identifies the exact entry point without guesswork. Only attempt this in dry, calm conditions when foot traffic on the roof is safe.
Can I Fix a Leaky Roof Myself?
Yes, minor repairs on accessible sections of a lower-pitched roof are within reach for a careful homeowner. A single missing or cracked shingle, a small hole, or a loose flashing seal around a vent are reasonable DIY jobs, but only if you have safe access and the right tools for the job. Work in dry conditions, wear rubber-soled shoes, and make sure your ladder extends at least three feet past the roofline.
The line to draw is steep pitches, multiple leak locations, structural damage, or any situation where water may be near electrical systems. In Ontario, working on a steep roof without a harness and anchor system is a safety violation.
If you’re not comfortable up there, the job should go to a professional. Don’t wait, since delays can lead to bigger problems and further damage; professional roofing services in Canada also bring safety training, proper equipment, and workmanship guarantees that most homeowners simply don’t have. If storm damage is the source of the leak, we’ve covered hail damage roof repair in Markham before and what to expect.
What's the Best Way to Fix a Leaking Roof?
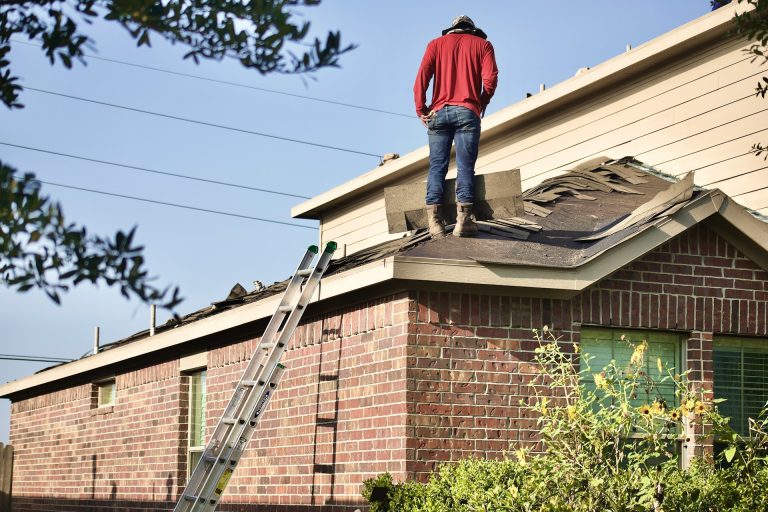
The best approach depends on what caused the leak. A missing shingle needs a different fix than failed flashing, and a plumbing stack boot issue is handled differently again. Here are the four most common repair methods for Markham homes.
Replacing Damaged Shingles
Use a flat pry bar to lift the edges of the surrounding shingles and remove the nails holding the damaged one. Slide out the old shingle and slide the replacement shingles in. Secure it with four roofing nails, one inch from each side edge and six inches from the bottom edge.
Many homeowners use a cordless drill/driver when handling this type of roof repair. Cover all nail heads with a dab of roofing cement. Standard asphalt shingles are what you’ll find on most Markham homes built after 1980, and new shingles are available at any local building supply store.
Sealing Nail Holes and Small Cracks with Roofing Cement
Roofing cement is one of the key materials for small patch repairs, and it works well with a roof sealant on minor leak areas such as holes left by removed nails, cracks in the shingle surface, and gaps around flashing edges. Apply with a putty knife, press it firmly into the gap, and smooth it to a feathered edge so water runs off cleanly.
In cooler weather, which covers most of a Markham repair season, warm the roofing cement slightly before applying so it stays workable. A single tube goes a long way on small cracks, but even a small roof leak or other small leaks should be repaired promptly before they spread.
Roofing Tape for Temporary Repairs
Self-adhesive roofing tape, either butyl or rubberized flashing tape, is one of several temporary fixes for a small gap or a split shingle edge. Peel the backing, press firmly onto a clean, dry surface, and smooth out any air bubbles.
For a larger damaged area, apply roofing tape only to a clean dry section, or cover the leak with a tarp until proper repairs are made. Frame this as what it is: a short-term measure. Roofing tape adhesive fails below minus ten degrees Celsius, so plan to do a proper repair or call a professional before the next freeze-thaw cycle arrives.
Repairing Damaged Flashing
Flashing is the metal that seals joints around chimneys, skylights, walls, vents, and other common leaks such as valleys and roof-to-wall transitions. In Markham, the freeze-thaw cycle lifts and cracks flashing faster than in milder climates, because water gets into the joint, freezes, expands, and works the metal loose over successive winters.
If the flashing is still in place but has a gap, reseal with polyurethane caulk or roofing cement where the metal meets the masonry or wood, especially at the joint where the flashing meets the house. If it has pulled away entirely, press it back, secure it along the top edge with roofing nails, and seal all edges. Damaged flashing that can’t be properly reseated should be replaced by a professional roofer. Improvised flashing repairs are a leading cause of repeat leaks.
Where Leaks Start on Markham Roofs
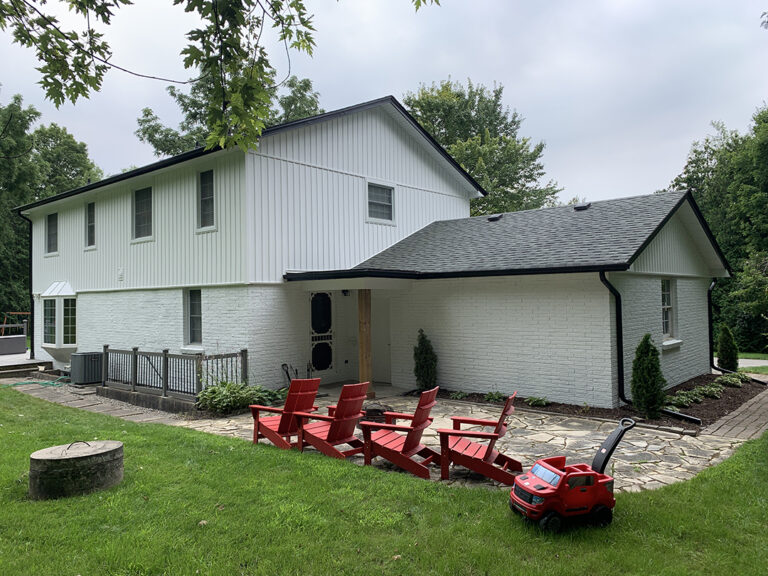
These are the spots that account for the majority of repair calls in York Region:
Chimney Flashing
Failed chimney flashing is the most common source of leaks in Markham homes. The typical failure is counter-flashing cut into the brick that has separated as the mortar degraded over time. In a cold climate, this happens faster because water enters the mortar joint, freezes, expands, and pushes the flashing loose through repeated cycles.
Reseal with polyurethane caulk where metal meets masonry. Chimneys wider than three feet also need a saddle or cricket behind them to prevent meltwater from pooling. Without one, even properly installed flashing will eventually fail.Roof Vents and Plumbing Stacks
Plumbing vent boots and roof vents are common and often overlooked leak points on shingle roofs. A plumbing vent boot is a protective cover, usually made of rubber or plastic, that seals the area where a plumbing vent pipe passes through the roof. The rubber gasket around the pipe degrades after ten to fifteen years of UV exposure and temperature cycling, and a replacement boot is typically a straightforward job for a roofer.
Cracked seals around vents can cause roof leaks. Square roof vents can also leak when shingles are pushed tight against their lower flange instead of leaving a small drainage gap. One important thing to avoid: caulking or tarring around vents. It traps water, makes the leak worse, and increases repair costs when a professional has to clean up the mess.Roof Valleys and Open Field Shingles
Valleys are the V-shaped channels where two roof slopes meet, and they carry more water than any other part of the roof. Roofing nails placed within ten inches of the valley centre can cause leaks along the joint.
Open field leaks are less common but can occur when shingles are staggered less than three inches, or when nail placement falls on a shingle joint. Most open field issues are spotted during a professional inspection rather than from the ground.Ice Dams Along the Eaves
Ice dams are the roof leak source that no American or BC competitor bothers to mention, but they’re one of the most common causes of water damage in Markham homes. Here’s how they form: snow accumulates on your roof, heat from the living space warms the upper section of the roof deck, and the snow melts. That meltwater runs down toward the cold eaves, refreezes, and builds into a ridge of ice. Water backs up behind that ridge and works its way under the shingles.
The leak often appears as a ceiling stain in an upstairs room during or just after a warm spell in January or February, or after heavy rain, not during the snowfall itself. Markham’s position between Lake Ontario and Lake Simcoe means more lake-effect snow than most of the GTA, combined with frequent brief warm spells that trigger this melt-and-refreeze cycle repeatedly through the winter.
For a temporary fix, lay a tube sock filled with calcium chloride perpendicular to the ice dam. It melts a drainage channel and lets the water escape. Do not use rock salt; it damages shingles and masonry. The permanent fix is improving attic insulation and ventilation so the roof deck stays cold and snow doesn’t melt on it in the first place. Read more about ice dam formation and how to prevent it.Blocked Gutters and Roof Edges
Clogged eavestroughs push overflow water back under the roof edge, especially during heavy fall rains and spring snowmelt. The resulting leak often appears at the ceiling-wall junction in a room directly below the eaves.
Clear your eavestroughs in late October after the maples and oaks have dropped, and again in spring after the ice clears. Eavestroughs over twenty years old that are sagging or separating at the seams are worth replacing before they cause ongoing roof edge damage. For more on how this plays out, see our piece on roof problems that often start with eavestroughs.
Can You Fix a Leaky Roof from the Inside?
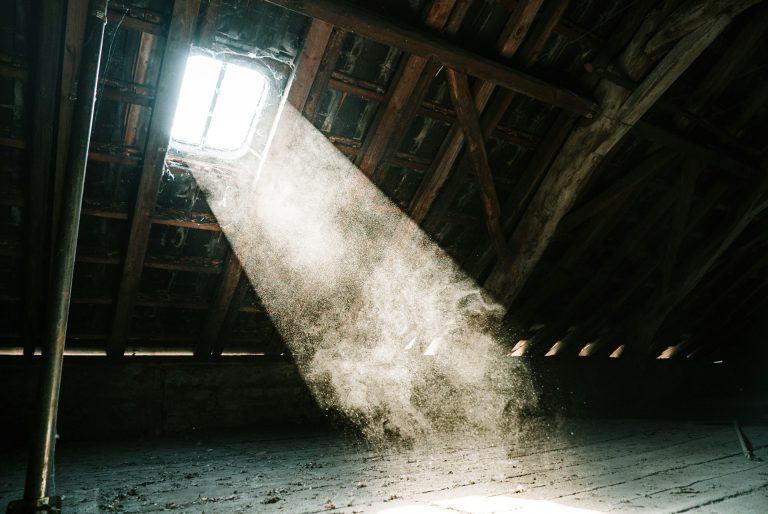
Yes, as an emergency temporary measure, but not as a permanent fix. From inside the attic, you can apply roofing cement directly to the underside of the decking at the entry point to stop immediate water ingress. This interior patch is one of the temporary fixes used only to limit damage until exterior repair is possible. This quick fix buys time without solving the underlying problem.
Trying to permanently seal a leaking roof from inside is a common mistake. It redirects water to a new path and hides the original damage, which makes a proper repair harder and more expensive when a roofer eventually gets up there. Delaying the proper exterior repair can also let moisture spread into the roof structure. Use the interior patch only to contain immediate damage, then arrange for a proper exterior repair.
What Is the Best Solution for a Leaking Roof?
The best solution is a professional inspection to find the actual entry point, followed by targeted repair. DIY patches address the symptom; a professional can make a big difference by tracing the true source and spotting hidden damage and helping you understand how much a roof replacement costs in Markham if repair is no longer the best option. Hidden damage such as saturated insulation, soft decking, or compromised underlayment is only visible once someone gets up close and looks carefully.
Minor roof repairs in Markham typically run $300 to $1,500 depending on the scope. Catching a leak early is always cheaper than letting it compound, and leaving it unresolved until the next storm raises the odds of more extensive and costly repairs. When the damage is more widespread and repair costs start approaching the cost of a new roof, replacement may make more sense financially, especially if you share a roofline and need to coordinate replacing a shared roof in Markham with a neighbour. Our guide on deciding when to repair or replace your roof can help you work through that decision.
When to Call a Professional Roofing Contractor
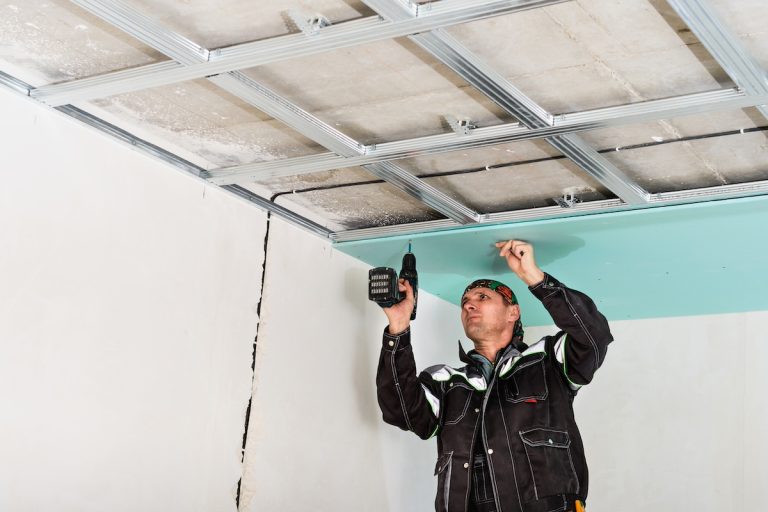
Some roof repairs are DIY-accessible. Others aren’t. Call a professional roofing contractor when water is actively pouring in, when the ceiling is sagging or bulging, when there’s any risk of water reaching electrical systems, when leaks are appearing in multiple locations, after storm damage, when repeated leaks point to hidden weak spots, or when you can see visible rot on the decking or rafters.
When you hire a roofer in Ontario, ask for two things before anyone goes on the roof: a WSIB clearance certificate and proof of general liability insurance. Without a WSIB certificate, you as the homeowner can be held liable for workplace injuries on your property under Ontario law. No reputable contractor will hesitate to provide both, especially those offering comprehensive home improvement services for roofing, siding, windows, and gutters. Our Edmunds roofing services in Markham come with full documentation on both fronts.
How to Prevent Future Leaks on Your Markham Roof
A bit of routine maintenance twice a year goes a long way in a climate like ours.
Schedule a Biannual Roof Inspection
Inspect your roof twice a year in Markham. Spring is the time to check for ice dam damage from the winter. Fall is the time to catch anything that might fail once lake-effect snow season begins. A ground-level walkthrough plus a quick attic check takes about half an hour.
A professional inspection every one to two years is worth the cost given how hard York Region winters are on shingles and flashing and how much local conditions affect roof lifespan in Markham’s lake-affected climate. Use our roof inspection checklist for Markham homeowners as a starting point, and if you’re wondering how much life your roof has left, read how long a roof lasts in Markham.
Keep Your Eavestroughs Clear
Clean your eavestroughs in late October after the leaves have dropped, and again in spring once the ice clears. Blocked eavestroughs are one of the top causes of preventable leaks in Markham. Troughs that are more than twenty years old and showing signs of sagging or separation are worth replacing before they start causing repeated roof edge damage.
Check Attic Ventilation Every Spring
Poor attic ventilation is the root cause of ice dam formation and accelerated shingle wear. Each spring, check that soffit vents are clear and that ridge or static vents are unobstructed. In homes built before 2000, the ventilation ratio is often below current Ontario Building Code standards, and upgrading it makes a real difference. Read more about how attic ventilation affects your roof’s performance.
Get Expert Roof Leak Repair in Markham
The Edmunds team have been fixing roof leaks in Markham, Historic Unionville, Cornell, Berczy Village, Cathedraltown, and across York Region for over 30 years, with a portfolio of home improvement project examples around Markham that show what the finished result can look like. If you’re not sure whether a leak needs a patch or a full repair, give us a call for a free assessment. We’ll give you a straight answer on what the roof actually needs.
Reach Edmunds Home Improvements at 905-472-0276 or visit us at 3400 14th Ave, Unit 28, Markham ON L3R 0H7.

Steve Gibson
President & CEO, Edmunds Home Improvements
Steve Gibson has over 35 years of hands-on experience in home renovation across
Markham and the Greater Toronto Area. As President and CEO of Edmunds Home
Improvements — a company serving the community since 1947 — Steve specializes in
roofing installation and repair, siding, window replacement and installation, and
door installation. A longtime local resident, he took ownership of Edmunds in 1989
and has built the company into one of the GTA’s most trusted exterior renovation
contractors. Edmunds is fully insured (WSIB and $5 million public liability) and
is a BBB Accredited Business and ENERGY STAR partner.
- Roofing installation and repair
- Siding installation
- Window replacement and installation
- Door installation
- Eavestrough and soffit installation
- Exterior home renovation (Markham, ON and Greater Toronto Area)
3400 14th Ave, Unit #28,
Markham,
ON
L3R 0H7